Tools, Techniques & Tips for Beginners and Beyond
Imagine this: You’ve just dreamed up the most incredible cropped jacket (Technical Drawings) with exaggerated lapels, hidden pockets, and a half-belt detail that cinches just right. The fabric? A matte wool-blend with unexpected sheen. The silhouette? Paris-worthy.
Now ask yourself—can someone else build it from your imagination alone?
That’s where Technical Drawing comes in.
Whether you’re designing your first collection or finalizing spec sheets for production, mastering technical drawings is essential. It’s the bridge between fashion fantasy and garment reality. This guide takes you through every step—from blank page to polished blueprint—and offers real-world advice for fashion creatives at every level.
What Exactly Is a Fashion Technical Drawing?
A technical drawing, sometimes called a “flat sketch,” is a precise, to-scale illustration of a garment. Unlike stylized fashion sketches meant to express mood or movement, technical drawings are neutral and exact. They focus on construction: seams, stitching, closures, pleats, darts, collars—you name it.
These are the drawings factories and patternmakers rely on to actually make the garment. So clarity is everything.
Think of it as the IKEA instruction manual of fashion design—but way chicer.
Step 1: Gather Your Tools (Analog or Digital—Your Choice)
Before you draw a single stitch, set yourself up with the right gear. You can go traditional with pen and paper, or dive into the digital world of vectors and layers. Here’s what you’ll need:
🛠 Traditional Toolkit:
- Mechanical pencils (0.3 or 0.5mm for precision)
- Eraser and sharpener
- Ruler, French curves, hip curves
- Technical drawing templates or croquis (start with basic front/back views)
- Fineliners or ink pens for final outlines
💻 Digital Setup:
- Adobe Illustrator (industry gold standard)
- CorelDRAW or Procreate (for more flexible workflows)
- Drawing tablet (like Wacom or iPad Pro + Apple Pencil)
- Fashion croquis templates (available online or custom-made)
👉 Pro Tip: Even digital designers benefit from sketching rough ideas by hand first. It frees up your creativity and helps you troubleshoot design quirks before committing to detail.
Step 2: Understand the Anatomy of a Garment
Before drawing, you must see—really see—how clothes are built. This means looking at fashion through the eyes of a patternmaker or tailor.
Break it down:
- What’s the base shape? (Fitted bodice, A-line skirt, raglan sleeve?)
- Where are the seams? (Princess, side seam, yoke?)
- How is it constructed? (Lined? Topstitched? Bias-cut?)
Use real clothing as your study guide. Flip it inside out. Trace seam lines with your fingers. Take photos from multiple angles.
🎯 Beginner Insight: Try deconstructing a simple T-shirt drawing. Sketch it front and back, then add elements like sleeve hems, ribbing, neck binding, and stitch lines. Once you understand a basic garment’s anatomy, more complex designs become less intimidating.
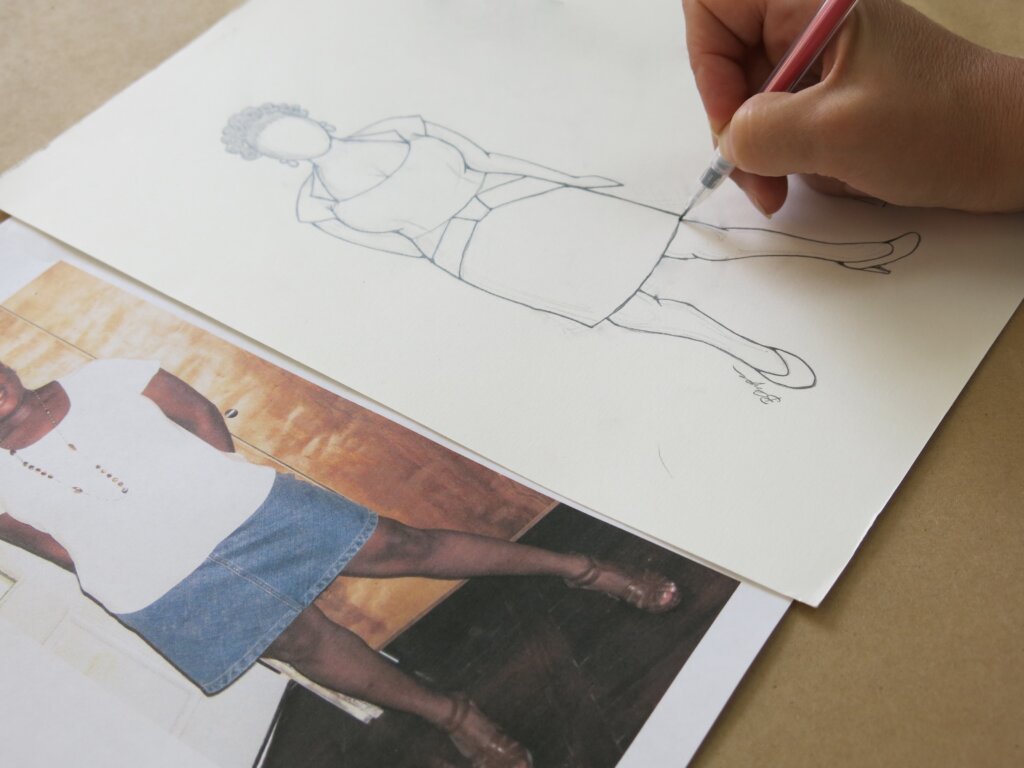
Step 3: Start Drawing—Clean, Clear & Confident
Now it’s time to put pencil to paper—or stylus to screen.
Start with the silhouette. Keep it symmetrical, balanced, and proportional. You’re not selling the mood here—you’re explaining the mechanics.
Next, layer in the details:
- Stitch lines (dashed lines)
- Pockets, pleats, darts
- Fastenings: buttons, zippers, hook-and-eye
- Fabric textures (use standard line conventions or add swatches separately)
- Interior finishes (if visible, like linings or bindings)
📌 Advanced Tip: Use line weight to create depth—heavier outlines for garment edges, lighter lines for seams or stitching. This subtly guides the viewer’s eye and improves readability.
Step 4: Add Notes, Labels & Measurements
Technical drawings don’t live alone—they often accompany spec sheets and tech packs. Even if you’re just drawing for yourself, get in the habit of labeling everything:
- Fabric type
- Stitch type
- Closure details
- Scale measurements (e.g., strap width, cuff length)
🗒 Example:
“Invisible zipper with 1cm seam allowance. Topstitch 0.5cm from edge using double-needle.”
This not only clarifies your intent but prepares you for communicating with manufacturers or team members down the line.
Step 5: Revisions and Clean-Up
Your first version probably won’t be perfect. And that’s okay. Professional illustrators revise all the time.
Ask yourself:
- Are all design elements visible and readable?
- Do construction details match your intended materials?
- Are the front/back/side views consistent?
💡 Case Study: One designer I worked with submitted a beautifully detailed front view of a blazer—but forgot to include the back vents and inner lining. The sample arrived unlined and boxy. A costly oversight, easily avoidable with a complete technical drawing.
So give yourself time to refine. Print it out. Annotate. Recheck your garment.
Beyond the Basics: Elevating Your Fashion Technical Drawing
Once you’ve nailed the fundamentals, you can start exploring:
- 3D drawing programs like CLO3D for dynamic modeling
- Custom brushes in Illustrator for specific stitch effects
- Layered flats that show construction in stages
- Color callouts with Pantone references for production accuracy
You’ll move from being “just a designer” to a visual engineer—able to communicate your ideas with crystal clarity to anyone, anywhere.
Final Thoughts: It’s a Language—Learn to Speak It Fluently
Technical drawing is like learning a new language in fashion. At first, it might feel stiff or overly detailed. But with practice, it becomes second nature—and it frees you.
No more vague descriptions. No more miscommunications with sample makers. Just clean, confident, production-ready illustrations that get your vision across.
Whether you’re submitting to a fashion competition, working with a sample room in Tokyo, or developing your own label, technical drawing is your superpower.
So sharpen that pencil—or fire up Illustrator—and start building your fashion blueprint today.